
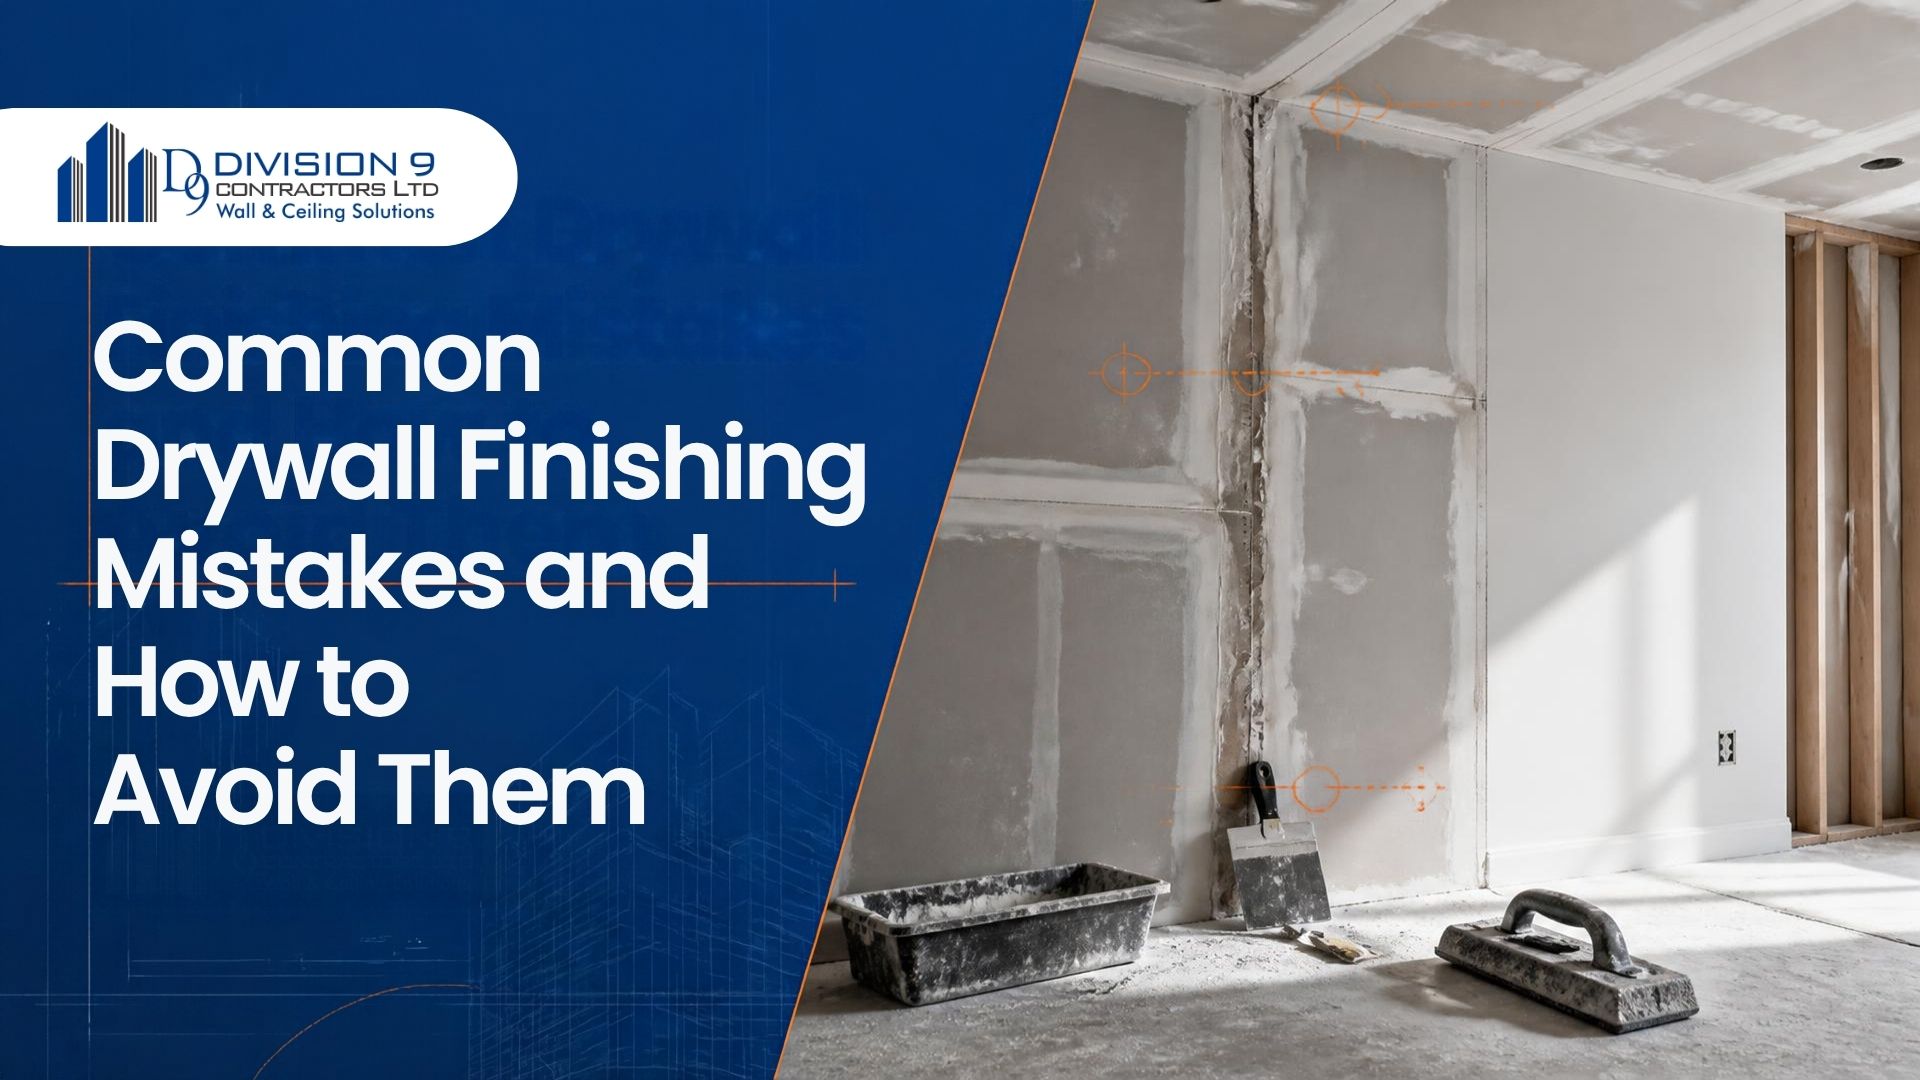
Achieving paint-ready, seamless wall and ceiling surfaces requires careful attention to detail. In residential and commercial projects across British Columbia, rushing drywall finishing or skipping critical preparation steps can quickly result in visible seams, cracking, or surface blemishes.
According to the Gypsum Association (GA-214)
standards, avoiding structural and application errors during taping, mudding, and sanding ensures long-term wall durability. Here are the six most common drywall finishing mistakes and how to prevent them on your job site.
1. Blistered or Bubbling Joint Tape
Air pockets trapped beneath drywall joint tape create weak spots that bubble or lift after painting.
- The Cause: Applying joint compound too dry, failing to spread a continuous bed of mud under the tape, or wiping the tape too aggressively with a taping knife (starving the joint of adhesive compound).
- How to Avoid It: Ensure the bed coat of compound is applied generously and evenly before embedding paper tape. Press the tape firmly using a 4-inch or 6-inch taping knife, leaving a uniform 1/16-inch layer of mud beneath the tape.
- The Fix:Slit the blistered tape lengthwise with a sharp utility knife, apply fresh compound beneath the flap, press it flat, and allow it to dry completely before applying fill coats.
2. Fastener “Pop-Outs” (Screw and Nail Pops)
Screw heads or nails lifting through finished drywall layers create unsightly circular bumps or cracked paint spots along framing lines.
- The Cause:Fasteners driven too deep (puncturing the face paper and losing structural grip), over-driven fasteners into twisted framing, or wood stud shrinkage as framing dries out inside heated spaces.
- How to Avoid It: Set drywall screws slightly dimpled below the board surface without tearing the protective paper face. Use kiln-dried framing lumber or light gauge steel stud framing to eliminate timber shrinkage issues.
- The Fix: Drive a new drywall screw 1.5 to 2 inches above or below the popped fastener directly into the stud. Tap the original fastener firm or remove it, then apply two fill coats of joint compound over both locations.
3. High Crown Seams and Heavy Ridges
Over-building compound over butt joints creates raised humps (crowns) that show as shadowed waves under room lighting.
- The Cause: Applying joint compound in thick, narrow passes over seams rather than feathering edge transitions outward.
- How to Avoid It: Use progressively wider taping knives (6-inch for taping, 10-inch for fill coat, and 12-inch to 14-inch for final feathering). Feather butt joints outward 10 to 12 inches on both sides of the seam to blend the transition across a wider plane.
- The Fix: Lightly sand down high ridges, then apply a wider, thinner coat of lightweight topping compound to blend the crown into the surrounding gypsum face.
4. Inside Corner Cracking (Corner Craze)
Cracks appearing directly along interior wall-to-wall or wall-to-ceiling corners compromise partition integrity.
- The Cause:Structural building movement, excessive mud buildup in the apex of the corner, or scoring/slitting the paper tape with a corner knife during application.
- How to Avoid It:Keep excess joint compound out of the deep apex of inside corners. Use pre-creased paper tape or structural composite corner trims, wiping excess mud outward away from the center fold.
- The Fix:Scrape away loose, cracked compound. For corner joints experiencing structural deflection, install resilient backing or re-tape the angle with proper expansion gaps.
5. Sanding Scuffs and Oversanded Paper (Fuzzing)
Aggressive sanding damages the protective face paper surrounding finished joints, creating rough wool-like fibers (fuzzing) that show through paint primer.
- The Cause: Using coarse-grit sandpaper (e.g., 80 or 100 grit) on final passes or pressing too hard over bare paper edges.
- How to Avoid It: Use 120-grit paper for initial coat knock-downs, switching exclusively to 180-grit or 220-grit fine sanding screens and sponge pads for final passes. Sand lightly in broad circular motions.
- The Fix: Apply a thin coat of PVA drywall primer or skim-surfacer over scuffed paper to seal loose fibers, lightly sanding with a 220-grit pad once dry.
6. Joint Photographing (Telegraphing) Through Paint
Seeing the outlines of taped joints or fastener spots through finished paint coats—even though the wall feels smooth to the touch.
- The Cause: Differential porosity between raw gypsum face paper and cured joint compound. When paint is applied, paper and mud absorb moisture at different rates, altering paint sheen uniformity.
- How to Avoid It: Always apply a dedicated, high-quality PVA drywall primer-sealer over raw drywall before applying topcoat paints. For rooms with high-gloss paint or raking side-light, specify a Level 5 full-surface skim coat to equalize surface absorption across 100% of the wall.
Troubleshooting Quick Reference Table
| Defect / Issue | Primary Cause | Best Prevention Technique |
| Tape Blisters | Dry mud bed or starved joint | Apply generous, even mud bed before pressing tape |
| Screw Pops | Torn face paper or wood shrinkage | Dimple screws correctly; use steel studs or dry lumber |
| High Seam Crowns | Thick, narrow mud application | Feather joints outward 10″–14″ using wide knives |
| Corner Cracks | Excess mud in apex or structural movement | Keep apex clean; use pre-creased composite tape |
| Paper Fuzzing | Coarse sandpaper grit or over-sanding | Finish sand with 180–220 grit pads under grazing light |
| Joint Photographing | Uneven paint absorption between paper & mud | Apply PVA drywall primer or full Level 5 skim coat |
Professional Framing, Drywall, and Wall Assembly Services
Division9 Contractors Ltd provides professional supply and installation for light gauge steel stud framing, insulation, acoustical assemblies, T-Bar ceilings, and Level 4 and Level 5 drywall finishing. We ensure wall systems meet strict industry tolerances and deliver smooth, defect-free interior surfaces.
We serve commercial, industrial, institutional, and residential construction projects across Surrey, Vancouver, Burnaby, Richmond, Langley, Coquitlam, Abbotsford, Delta, Maple Ridge, New Westminster, North Vancouver, West Vancouver, Squamish, Whistler, and Chilliwack.