
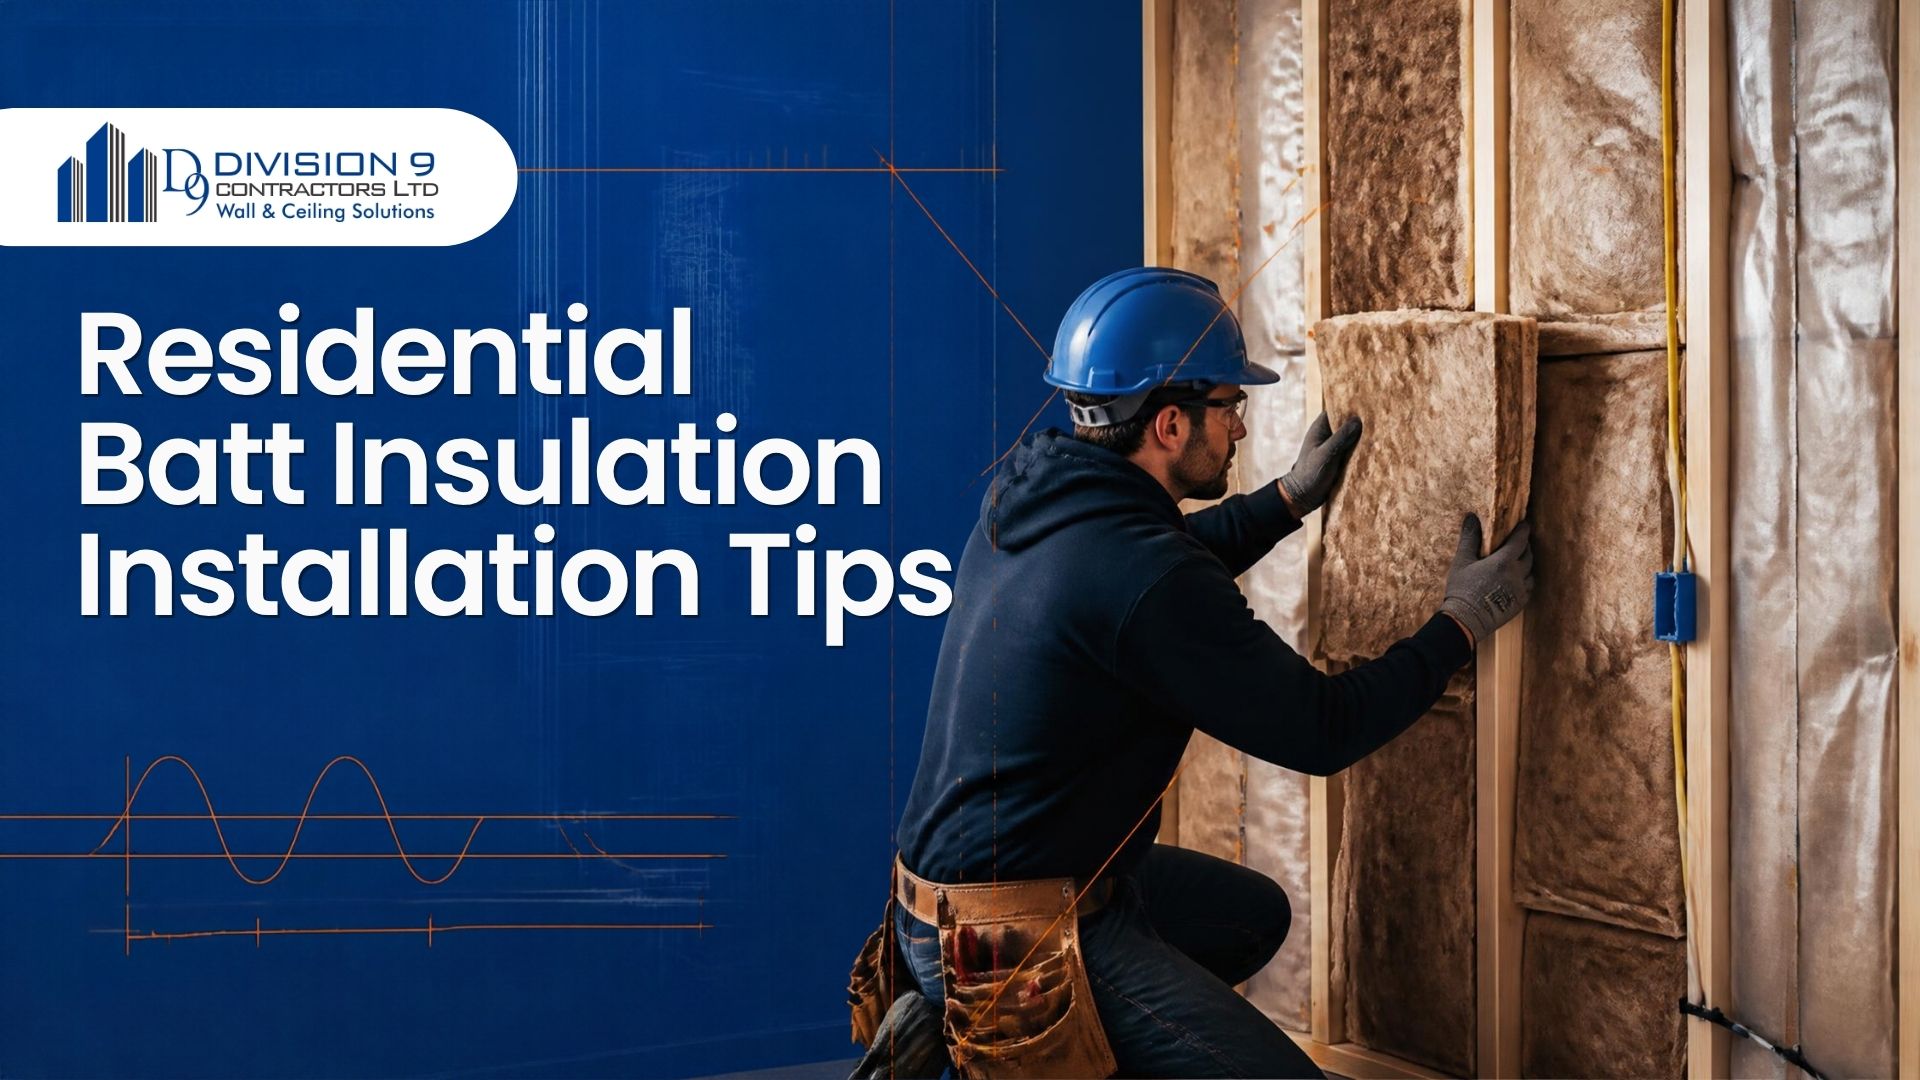
Installing residential batt insulation correctly is essential for maintaining home thermal comfort, lowering monthly heating bills, and meeting the energy efficiency requirements set out by the BC Building Code. Whether you are insulating an exterior wall cavity, soundproofing an interior room, or upgrading a basement floor assembly, execution details make all the difference.
Small installation oversights—such as compressing batts, leaving perimeter air gaps, or misplacing vapor retarders—can degrade a wall’s nominal R-value by up to 30% to 50%. The following actionable tips ensure full thermal performance and long-term durability.
1. Safety and Worksite Preparation
Working with fiberglass or mineral wool (rockwool) insulation batts generates microscopic airborne fibers that can irritate skin, eyes, and lungs.
- Personal Protective Equipment (PPE): Wear a NIOSH-approved N95 dust mask, safety glasses, gloves, and a long-sleeved shirt fastened at the wrists.
- Workstation Set-Up: Set up a clean cutting board made of a 3/4-inch plywood sheet and use a straight edge (such as a 2×4 stud or metal square) with a sharp, long-blade utility knife or insulation saw. Keep extra utility blades on hand—dull blades tear insulation rather than slicing cleanly.
2. Measure and Cut Batts Precision-Style
Batt insulation relies on an uncompressed friction fit to stay securely in place between framing studs without sagging over time.
- The 1/2-Inch Rule: Measure the width of the stud bay between wood or light gauge steel studs and cut the batt 1/2 inch wider than the opening. This extra width allows the friction fit to hold the batt snugly against the stud flanges without buckling forward.
- Avoid Compression: Never fold or jam a thick batt into a shallow stud bay (e.g., forcing an R-22 batt designed for 2×6 framing into a 2×4 wall). Squeezing insulation collapses the micro-air pockets required for thermal resistance, drastically lowering its effective insulating power.
3. Detail Around Obstructions and Utility Lines
Electrical junction boxes, plumbing pipes, ductwork, and structural wires are found throughout residential wall cavities. Forcing full batts over these utility penetrations creates open air voids behind the insulation, leading to thermal bridging and condensation risks.
- Split the Batt for Wiring: Gently split the insulation depthwise along its thickness and sandwich electrical wiring between the split layers so the front face remains flush with the framing.
- Notch Around Electrical Outlet Boxes: Measure and cut a precise block out of the back of the batt where electrical junction boxes sit. Place the cut piece behind the box to prevent heat loss, fitting the remainder tightly around the sides.
- Insulate Behind Plumbing: Always tuck insulation behind water supply lines running along exterior walls so home interior heat protects the pipes from freezing during cold British Columbia winters.
4. Eliminate Gaps and Perimeter Voids
Thermal loss acts like an air current; heat naturally leaks through the smallest uninsulated gap in a wall cavity.
- Fill Narrow Cavities: Cut custom insulation strips to fill small stud spaces around window and door rough openings, corner framing intersections, and wall partition intersections.
- Keep Cavities Square: Ensure top and bottom plates are tightly fitted without gaps or bunching. Batts should rest flush against the exterior sheathing material without air gaps behind the insulation blanket.
5. Master Vapor Barrier and Air Sealing Standards
In coastal and interior British Columbia, managing indoor moisture migration through exterior walls is critical to preventing mold growth and structural decay.
- Vapor Barrier Placement: Under BC Building Code regulations, install a continuous 6-mil polyethylene vapor barrier over the interior warm side of exterior walls (between the batt insulation and interior drywall).
- Acoustical Sealant Application: Run a continuous bead of non-hardening acoustical sealant along top and bottom runner plates, corner junctions, and around electrical outlet boxes before stapling the poly film in place.
- Seal Poly Overlaps: Overlap polyethylene sheet seams by at least 6 inches over a solid framing member, applying acoustical sealant between the layers and sealing the joint with approved vapor barrier tape.
Residential Batt Installation Best Practices Summary
| Installation Area | Key Objective | Recommended Material |
| Exterior 2×6 Walls | High thermal resistance & friction fit | Friction-fit R-22 to R-24 mineral wool or fiberglass batts |
| Basement Rim Joists | Air sealing & frost protection | Cut-to-fit mineral wool batts paired with spray foam perimeter seals |
| Interior Sound Partition Walls | Airborne sound absorption (STC) | High-density mineral wool acoustic batts |
| Floor & Ceiling Assemblies | Sound separation & heat containment | Resilient-supported acoustic batt insulation |
Professional Framing, Insulation, and Drywall Solutions
Division9 Contractors Ltd provides supply and installation for high-density batt insulation, spray insulation, spray foam, light gauge steel stud framing, and Level 4 and Level 5 drywall finishing. We partner with custom home builders, residential contractors, and homeowners to deliver energy-efficient, code-compliant residential wall and ceiling systems.
Serving projects across Surrey, Vancouver, Burnaby, Richmond, Langley, Coquitlam, Abbotsford, Delta, Maple Ridge, New Westminster, North Vancouver, West Vancouver, Squamish, Whistler, and Chilliwack.